Pruning Tips from a Horticulturist
Tuning up for Pruning Up--Care, Maintenance and Utilization of Hand Pruning Tools
J. Downer
University of California
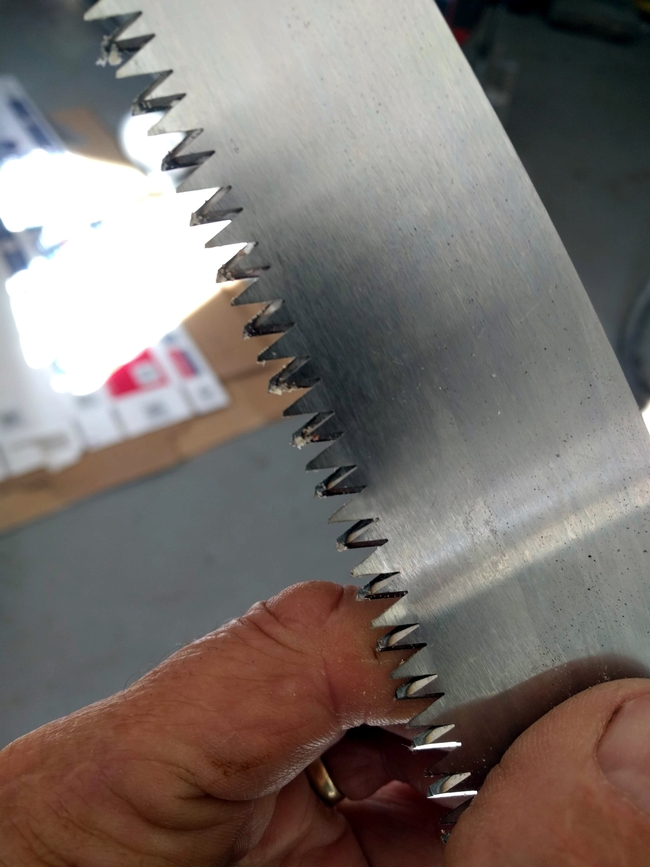
Fall is passing into winter and the bare sticks in my deciduous fruit orchard are calling me to my annual fruit tree pruning chores. I can prune my entire orchard with very few tools: a good pair of bypass clippers, a similar set of loppers (optional) and a high quality “razor” or “tri edge” saw. Most tools require some maintenance especially the clippers and loppers. Sharpening is the usual need. Clippers are easily sharpened but modern saw blades can not be sharpened by gardeners and should be replaced. Sometimes it is just as easy to buy a new saw, replacing the old one when blade eventually dulls or is bent from over zealous use (illustration 1)
Illustration 1: Tri-edge saw blades are made from stainless steel and are not easily sharpened. When dull or bent they should be replaced
Before using your pruning tools inspect them for signs of damage. Blades should be sharp and unbent. Loppers should have their rubber “bumpers” intact otherwise your knuckles will be smashed after exerting force on a difficult branch. Sharp tools offer less resistance and actually decrease injury to users. One exception here is with the modern “tri-edge” or “razor” saws. These saws can cut so quickly that you may pass through the branch you are cutting and continue on to some part of your anatomy quickly ripping your flesh. I have suffered more cuts (some serious) from these saws than from any other gardening activity. They should be used with careful precision, not with the wild abandon and pruning fervor of the craven academic desperate for real world gardening experience. A thick long sleeved shirt and gloves will also help prevent cuts from hand pruning equipment.
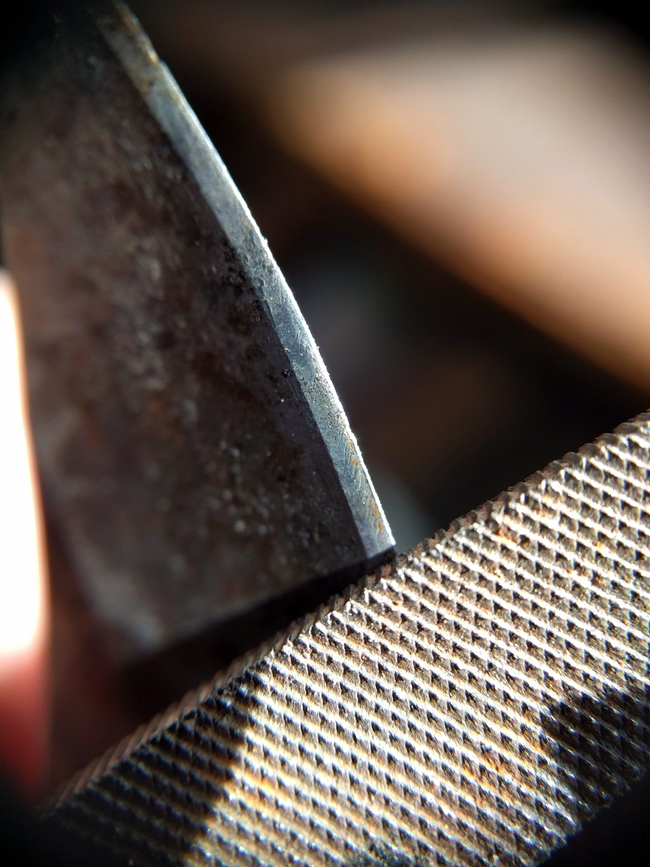
Bypass clippers are so termed because the blade passes by the hook. To sharpen these, find the bevel on the edge of the clippers and align a small file to the same angle of this bevel, and file the bevel until you can feel the sharpness with your finger (Illustration 2). Never sharpen the back side of the bevel—this will create a gap, and every time you cut, a flap of tissue will remain. Back bevel sharpened clippers will require blade replacement or grinding until the back bevel is gone. The hook does not require sharpening, do not attempt to file it. Repeat this process with lopper blades.
Illustration 2: To sharpen bypass clipper blades follow the angle of the bevel. Do not sharpen the flat side of the blade
When you are done pruning for the day, wipe the blades of your clippers and loppers with an oil soaked rag or apply a few drops of oil and rub it into the blade. Most modern saws blades are made from stainless steel and require no oil protection.
As a Cooperative Extension Advisor, one of the most common questions I receive is: “Should I sanitize my clippers between cuts or between uses on various plants?”. Indeed, many publications, extension leaflets, gardening columns, and other sources make broad recommendations to sanitize clippers after every cut. Some articles even compare various products for their killing efficacy. Often blind recommendations are made to sanitize clippers when the pathogen is not even known or specified. It is not necessary to sanitize your clippers when pruning most garden plants and fruit trees. There are a few pathogens that are spread by dirty pruning equipment but published evidence that they are spread by hand pruning equipment (especially clippers) is nil. One exception is palm wilt caused by Fusarium oxysporum f.sp. canariensis which is easily spread by saws. Some of the canker fungi caused by Botryosphaeria can also be spread by pruning equipment. With many of these pathogens, a wound is required for infection so it may not be that the clippers are spreading disease so much as providing an entry point (infection court) so that pathogens have a way to enter.
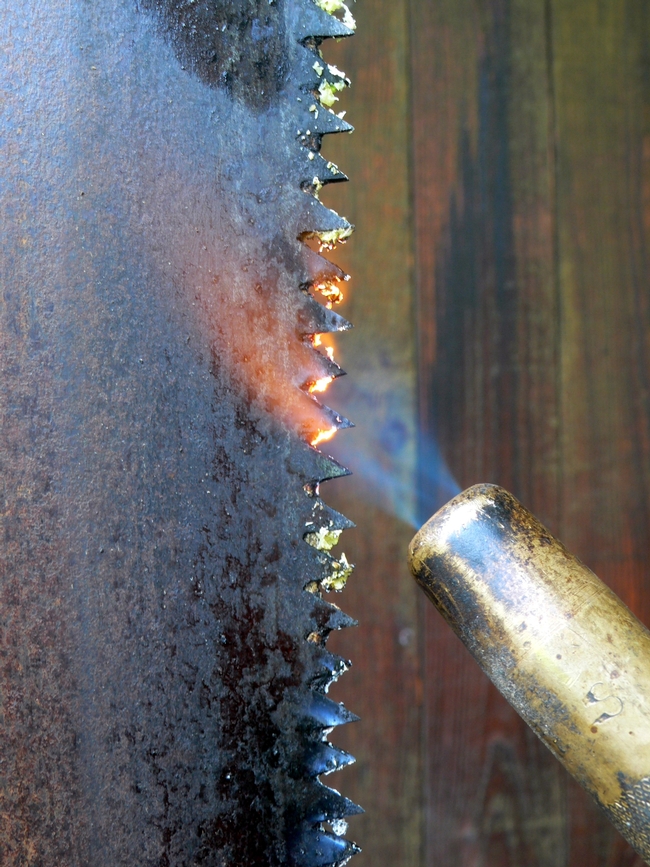
In my garden, I have never, and will never need to sanitize clippers between cuts. However, conditions vary across the US, and in some places rain, humidity, and temperature are more favorable for disease development. To avoid spreading pathogens, prune during the dormant season, when the likelihood of pathogen activity is lowest. Apply dormant sprays containing copper to limit the onset of new fungal diseases that may enter pruning wounds. If you still feel you need to protect wounds from dirty clippers I like to use the flame from a plumber's torch to sanitize. A few seconds along the cutting edge front and back kills all pathogens (Illustration 3). Similar for a saw but efficacy is increased if the saw gullets are wiped clean with a cloth and then the flame applied. The only time I take these measures is when I know I am working with plants that can be inoculated with pathogens by pruning (which is rare).
Illustration 3: A plumber's torch will rapidly sanitize saws and blades when pathogens are present in plant tissues.
When pruning garden plants, there are a plethora of recommendations on how to make cuts. Rose experts have extolled the virtues of an angled cut so water runs away quickly, flush cuts used to be recommended by arborists as the highest quality cut. These examples are without research foundation. Cuts on woody plants should be angled to produce a circular exposure that is the smallest surface area possible. We abandoned flush cuts many years back because they cut into protective zones that limit decay in trees. Some gardeners feel compelled to cover their cuts with a pruning paint and there is a similar paucity of research to support this practice. Leave pruning wounds unpainted.


