Posts Tagged: master Food Preserver
Drying peppers
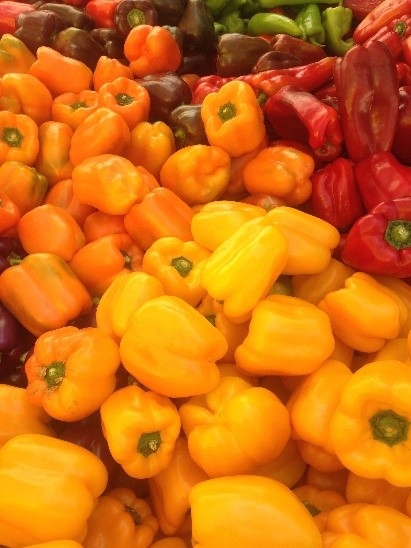
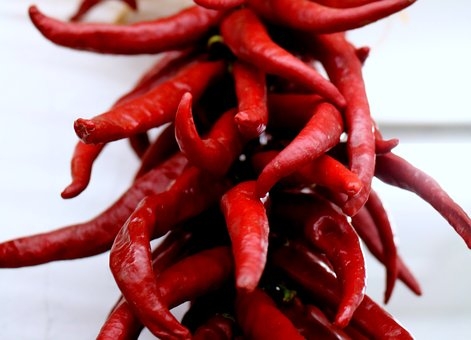
Air drying peppers can be a fun activity to do with children. For the best results, select only firm, fresh peppers free of any blemishes or other damage. Wash them thoroughly. Then use a knife to cut a slit in the stems. Using a large crafting needle, thread light string or a heavy thread through the stems of the peppers. Hang the string of peppers in a well-ventilated room since high humidity can cause the peppers to spoil. The peppers should dry within about four weeks.
Peppers can also be sun dried. Drying peppers in the sun requires a minimum temperature of 90°F for several days, with a humidity level below 60 percent. To sun dry peppers, first rinse them to remove any dirt. Then lay them on screen trays made of stainless steel, plastic, or Teflon coated fiberglass. Do not use galvanized metal, copper or aluminum screens. Place the trays on blocks to increase airflow and cover the peppers with cheesecloth to protect them from birds and insects. Once the peppers are dried, pasteurize them to kill any insect or insect eggs that may have gotten on the peppers. To pasteurize them, either seal them in a freezer bag and place the bag in the freezer (set at 0°F or below) for 48 hours, or lay the peppers out single layer on a tray and place them in the oven pre-heated to 160°F for 30 minutes.
If you have an electric food dehydrator, first thoroughly rinse the peppers and remove the stems and cores. Cut the peppers into 3/8-inch disks and place in a single layer on the dehydrator trays. The peppers generally take 8 to 12 hours to dry in a dehydrator.
You can also dry peppers in your oven, although you may not want to heat up your house using this method in the summer. To dry peppers in your oven, first make sure your oven can be set to 140°F. (Any higher temperature will cook, not dehydrate the peppers.) Place washed peppers single layer on an oven drying tray (note: cake cooling racks placed on a cookie tray work well). Make sure the drying tray clears all sides of the oven three to four inches. If you are placing more than one drying tray in your oven, make sure they're spaced two to three inches apart for air circulation. The oven door needs to be propped open two to six inches during the entire drying process. You can place an oven thermometer near the drying tray to get an accurate temperature reading and adjust the temperature as needed to reach 140°F. Since oven drying takes about twice as long as an electric food dehydrator, it will take approximately 16 to 24 hours to dry peppers using this method. Just be sure to let the peppers completely cool before packaging them for storage.
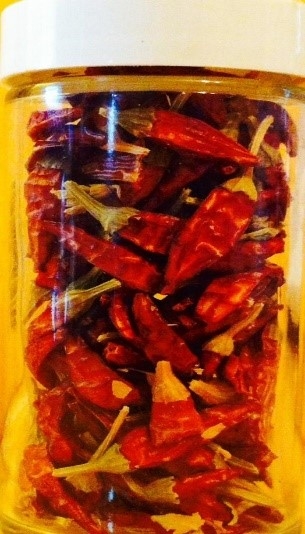
Dried peppers can be stored for several months in a cool dark place. They should be stored in moisture proof packaging such as a glass jar or freezer container. Plastic freezer bags can be used but be aware that they are not rodent proof. Rehydrate dried peppers for use in dishes like casseroles by soaking them in water. Or you may opt to crumble or turn the dried peppers into a powder to use as a seasoning.
Source of information and more reading:
For more information on drying peppers, see Peppers: Safe Methods to Store, Preserve and Enjoy from the University of California Division of Agriculture and Natural Resources accessible at https://anrcatalog.ucanr.edu/pdf/8004.pdf and Preserving Food: Drying Fruits and Vegetables from the University of Georgia Cooperative Extension Service accessible at https://nchfp.uga.edu/publications/uga/uga_dry_fruit.pdf.
For more information about the UC Master Food Preserver Program, including the Food Preservation Video Library, visit mfp.ucanr.edu.
Home preservation for whole foods, plant-based lifestyles
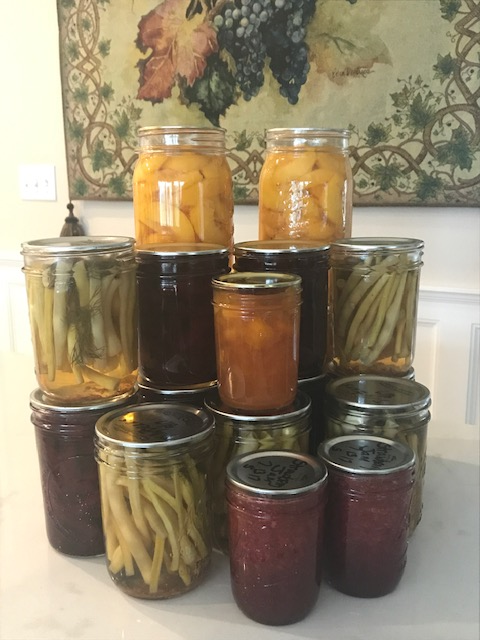
Recently there has been increasing interest and desire to grow and preserve our own produce. In addition, there has been an increase of health-conscious families turning to WFPB lifestyles. This UC Davis article explains the differences between vegan and WFPB diets.
Home food preservation is a natural accompaniment to this lifestyle, however, misconceptions about the benefits of home canning are often overlooked for the WFBP lifestyle and therefore not utilized. There is a misconception that preserved canned fruits are loaded with sugar. Unlike vegan diets, WFPB diets do not include sugar, however, WFPB diets do include raw honey if sweeteners are desired. The UC Davis Integrative Medicine article, The real truth about sugar, supports the choice to preserve fruits without the addition of sugar. And, although unprocessed foods are encouraged, minimally processed foods like home preserving, is acceptable. Here is a great article from UC Davis Integrative Medicine - What about processed foods?
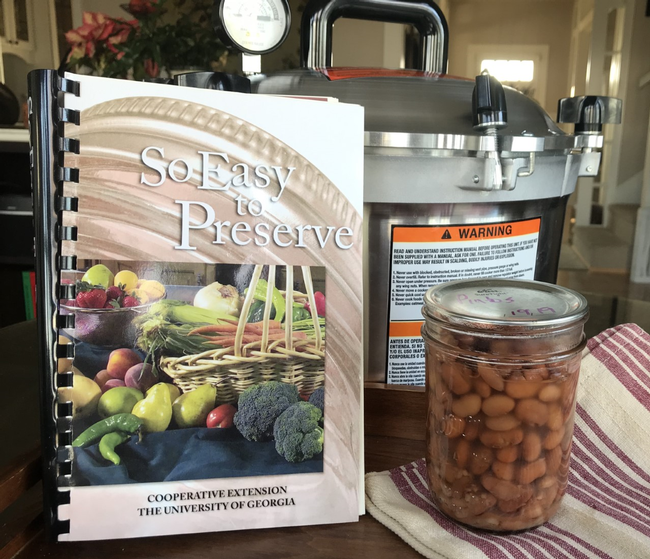
Beans are a protein staple for the WFPB lifestyle. A UC Davis Integrative Medicine article explains Why beans are best and are a healthful choice for a meal or a snack. Home canning beans saves time and money. This UCCE video by Dustin Blakey is an excellent demonstration for pressure canning beans. By following the recipe in the book So Easy to Preserve, for pressure canning beans, my beans always come out safe and perfect. Before serving, I bring the beans to a boil for 10 minutes and season for my desired taste.
Being a certified UC Master Gardener provided me the skills and knowledge to successfully grow my own produce. I often referr to my garden as “My Victory Garden for Health.” All the produce that is not eaten fresh is either canned, dehydrated or frozen using skills I learned as a UC Master Food Preserver.
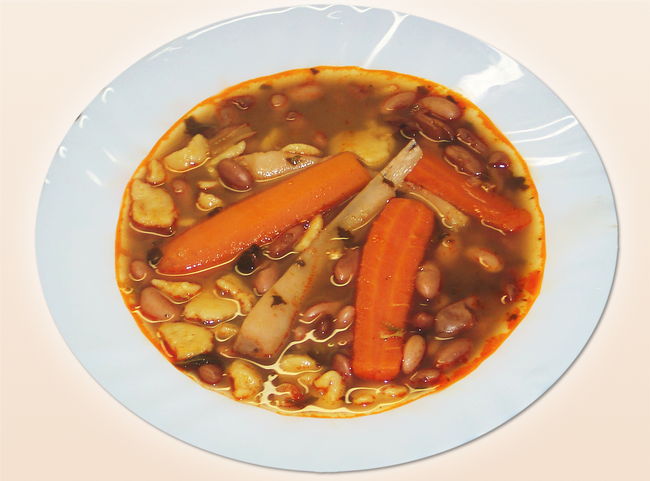
We grew a large 4' x 16' bed of onions. Some onions were dehydrated, which was a great advantage. Snap peas, bush beans, asparagus, beets for pickling, carrots, tomatoes, and sweet corn were either pressure canned, blanched or frozen. Vegetable soup was made and canned using the So Easy to Preserve instructions.
I am not advocating that this lifestyle is for everyone since after almost one year I found my way to a hybrid form of WFPB. However, I will continue to use my UC Master Food Preserver skills to home preserve produce that is sugar free and healthy, knowing that my home preserved food is safe since I have followed recipes and procedures tested for home food preservation.
For more information about the UC Master Food Preserver Program, including the Food Preservation Video Library, visit mfp.ucanr.edu.
Citrus: Preserve it now to serve it safely later
Update: 2020 classes will be held as follows. For more information and registration, click here for a calendar and scroll down to the preferred class.
|
Date |
City |
Time |
Location |
|---|---|---|---|
|
Fairfield |
1-4pm |
UCCE Solano County Meeting Room 501 Texas Street. Fairfield, |
|
|
Napa |
1–4pm |
UCCE Napa County, 1710 Soscol Avenue, Suite 4, Napa |
|
|
Chico |
1–4pm |
Chico Masonic Family Center, 1110 W. East Avenue, Chico |
|
|
Yuba City |
1–4pm |
UCCE Yuba/Sutter County Conference room 142A Garden Highway, Yuba City |
|
|
Grass Valley |
1–4pm |
Grass Valley Veterans Building 255 South Auburn, Grass Valley |
|
|
Berkeley |
1-4pm |
The Green Church, 2108 Russell Street, Berkeley |
|
|
Concord |
1–4pm |
Contra Costa Farm Bureau |
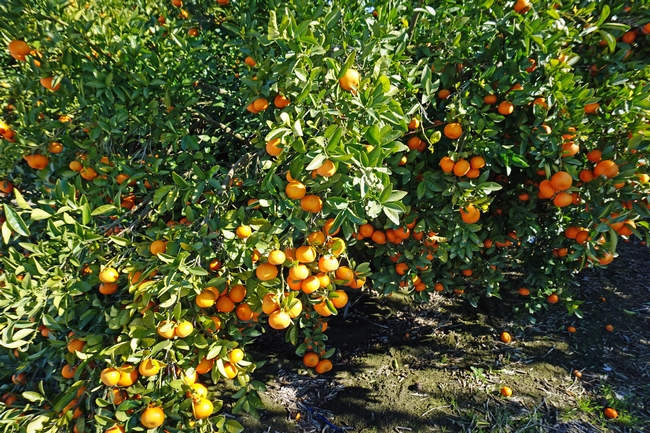
Winter is the time when many backyard citrus trees and roadside fruit stands are laden with mandarins, lemons, navel oranges and limes. A UC Cooperative Extension expert is traveling the state to teach how the fresh taste of citrus can be preserved for year-round enjoyment.
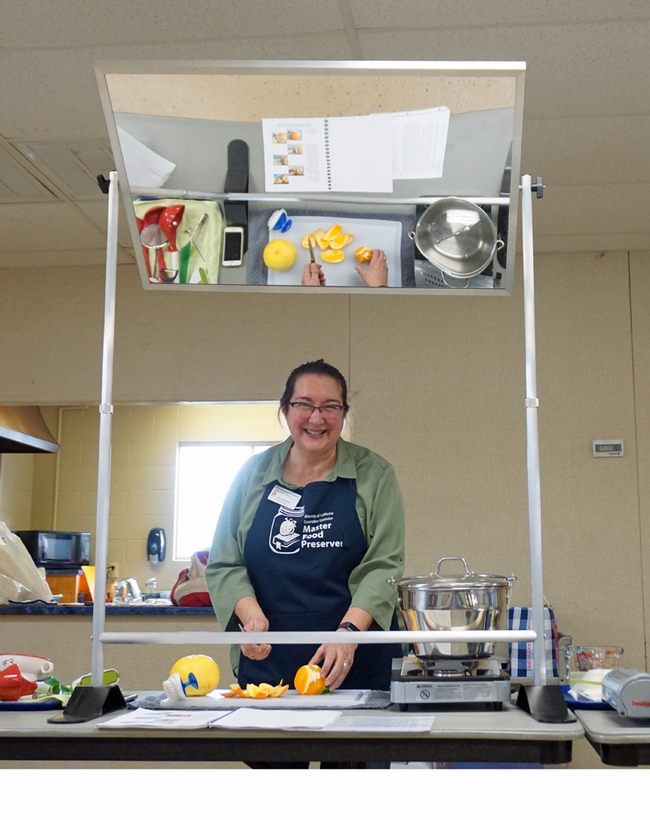
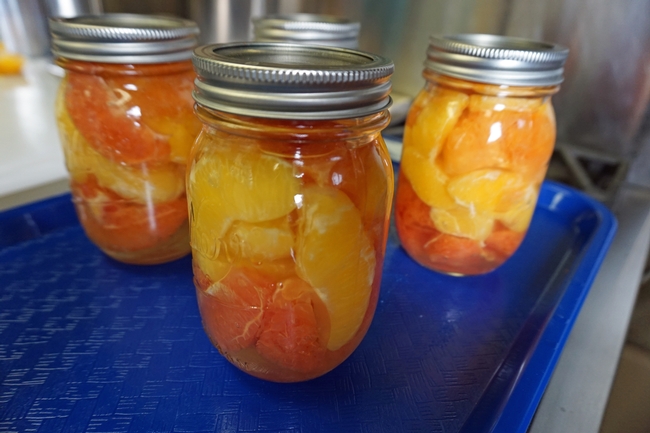
UC Cooperative Extension Master Food Preserver coordinator Sue Mosbacher recently taught a roomful of attentive Mariposa County residents how to safely make marmalade jam, preserve lemons in salt to add flavor to savory dishes, and can grapefruit and orange sections with a little sugar to produce a fresh-tasting citrus cocktail high in vitamin C.
Mosbacher is a community education specialist based in El Dorado and Sacramento counties. But she has been driving up and down Highway 99 to bring research-based food preservation lessons to residents as far south as Madera County as part of a special project that was funded with a $140,000 grant from the U.S. Department of Agriculture's (USDA) Agricultural Marketing Service. (Through grant AM170100XXXXG011. The project's contents are solely the responsibility of the authors and do not necessarily represent the official views of the USDA.)
Mosbacher has made dozens of appearances at county fairs and community meetings.
“It's been fabulous,” Mosbacher said. “People want the information and are using what they are learning.”
The series began last year with lessons focused on preserving summer fruit. The citrus classes are being offered in the winter. And in late spring 2019, Mosbacher will be on the road again to teach more fruit preservation classes and, in summer and fall of 2019, she will offer vegetable preservation lessons. The project is slated to conclude in 2020.
Mosbacher said she is energized for this journey by knowing that she is making a difference in California communities. She shared a telling story from a Georgetown vegetable preservation class. A participant said she had canned peas using the boiling water method; the Master Food Preserver Program guidelines require the use of a pressure canner for low-acid vegetables to prevent the growth of bacteria that produce the botulism toxin.
“She said she always canned peas in a water bath, and no one had ever died. But she came back the next week and told us she decided not to risk it and to throw the veggies to her chickens,” Mosbacher said. “And the next day, half her chickens died.”
Mosbacher has a background in computer science and the financial industry. During the 2008 downturn, she was laid off and spent time as a 4-H volunteer in the UC Cooperative Extension Office. While there, she learned about a part-time job opportunity working with UC Master Gardeners and UC Master Food Preservers.
At the time, she had no food preservation experience, so she took Master Food Preserver training.
“I learned everything I know from our own Master Food Preservers,” Mosbacher said.
Master Food Preservers are volunteer food preservation enthusiasts who have been trained in research-based preservation methods. Every food preserver training begins with a food safety primer with proven methods to decontaminate kitchen surfaces and tools, detoxify canned low-acid food and guard against spoilage.
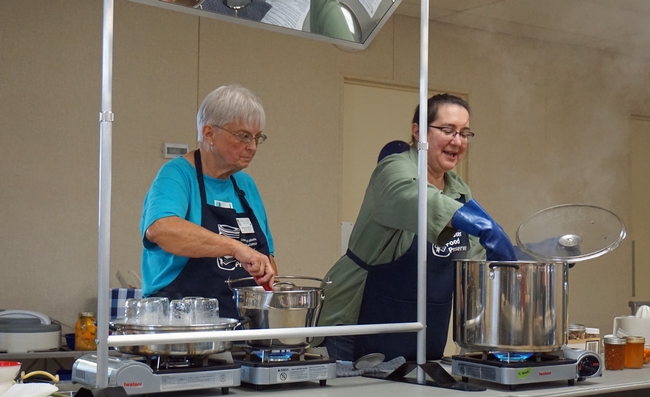
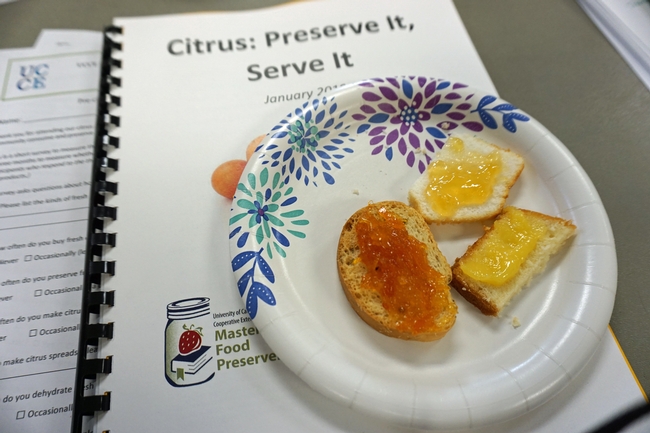
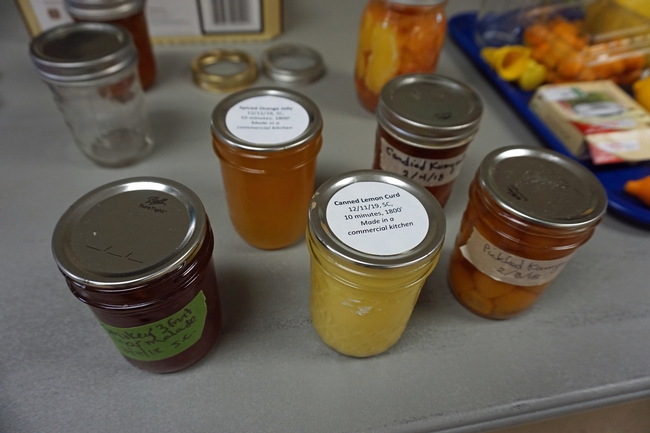
At the citrus training, Mosbacher demonstrated canning a delicious orange jelly spiced with cinnamon, allspice and cloves. After cooking the juice with sugar and pectin, she canned the jelly using the boiling water method and with a steam canner. Either option is okay with high-acid citrus fruit.
Options for preserving lemons abounded. The juice can be frozen in an egg carton or ice cube tray, and used throughout the year in salad dressings, fruit salads, soups and ice cream. Slices of lemon can be dried to flavor ice water, seafood and casseroles. Mosbacher demonstrated preserving lemon wedges in salt water seasoned with bay leaves, cinnamon sticks and whole black peppercorns. She provided a recipe for a gourmet chicken tagine and roasted fingerling potatoes with preserved lemons to give participants guidance for using their preserved fruit.
At all the classes, participants are surveyed at the beginning and end to document the impact of the training. The preliminary results calculated with responses from 75 participants reflect positive results. After the class, nearly half of participants intended to preserve more fruit at home than they previously preserved. Two-thirds of participants intended to dehydrate more fruit than before.
"The results are great," said Katie Johnson, UC Cooperative Extension nutrition, family and consumer sciences advisor in the Central Sierra. "We never see results this high with regard to health behaviors, so I think it's pretty exciting."
To learn about food preservation programs around the state and search for classes, visit the UC Master Food Preserver website.
It’s electric?! Breaking down electric pressure cookers
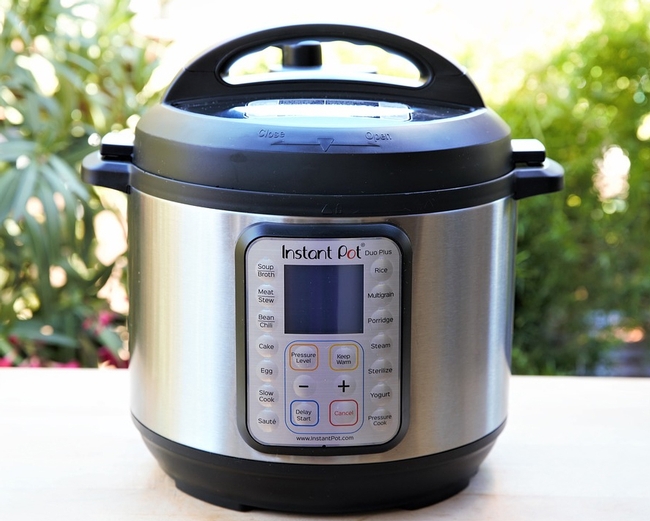
You may have heard the buzz about electric pressure cookers. Even if you don't follow kitchen trends, this piece of equipment may take some of the "pressure off" of preparing meals. From personal experience, I can say that they're also quite fun!
Pressure cooking vs. pressure canning
Pressure cooking uses trapped steam to create a pressurized environment for cooking food. This combined with heat can greatly decrease cooking times for many items. Foods like dried beans, meat roasts and rice can have a significantly shorter cooking time when they are pressure cooked. Some people may recognize the term pressure canning which uses pressure to preserve foods. While they are similar in the process, only equipment specifically labeled for pressure canning can be used safely for food preservation.
Why so popular?
Pressure cookers existed first as a stove top version that required manual monitoring of pressure. Electric pressure cookers arose to help streamline and simplify the process. They have digital settings and controls so are generally easy to use. The quick cooking time and ability to electronically set time and temperature also increase their consumer appeal. In addition, the cooker is a closed system which helps retain moisture, nutrients and flavor. Unfortunately, there is not a lot of scientific research on nutrient retention in pressure cooking. One study did find that pressure cooking retained more vitamin C in broccoli than compared to boiling or steaming.
Additionally, electric pressure cookers are more energy efficient than stove top or oven cooking. They are insulated which prevents energy from being lost in the cooking process.
Becky Hutchings, a family and consumer sciences educator for University of Idaho Extension, currently offers a very popular introduction to electric pressure cookers class in her community. She feels electric pressure cookers can help people save money and time with cooking. Hutchings has said, “I think with pressure cookers, people are scared that it's going to blow up. Once they use their electric pressure cooker they will realize how easy and fast it is. They wonder how they ever lived without it.”
Safety concerns
As with any piece of equipment, there are safety concerns. Some models are considered “multi cookers” and may have a setting for slow cooking. This may be misleading as the slow cooker setting will not pressure cook. You cannot leave food in the cooker to be pressure cooked later because it will be in unsafe temperatures and will increase the risk for foodborne illness. For example, if you are planning to cook a pork roast in the electric pressure cooker, you cannot prepare it in the morning and leave it out on the counter until the evening. You will have to keep the food refrigerated until it is ready to be cooked.
Additionally, standard food safety practices should still be followed. Even if a roast looks done, check that temperature! Electric pressure cookers can be easily reset to cook for additional time if needed.
A third and significant concern is canning with electric pressure cookers. UC Cooperative Extension takes education on food preservation very seriously. We only support research-based and tested recipes for preservation. Many brands of electric pressure cookers provide recipes for canning. However, NONE of the brands have been able to supply their research or information supporting these recipes
The National Center for Home Food Preservation has a great article explaining why this is a concern. In short, electric pressure cookers have not been studied to ensure the necessary requirements for safe canning. Therefore, UC Cooperative Extension does NOT support or encourage canning in electric pressure cookers.
Hutchings explains it quite simply as “You are putting your life at risk."
(Pressure canning is a whole other wonderful field of cooking and preservation. We have many resources and articles available to learn more about it.)
Where to go from here:
While some models may be more “instantly” recognizable than others, there are many brands available for purchase. Just because a brand has popularity may not mean it is right for you. There are many online resources providing reviews and recipes for all the main brands of electric pressure cookers available. Prices of models range from $50 to $100. They are a more expensive piece of equipment, but savings could be seen in reduced cooking time and energy efficiency. In addition, there is a lot of money saved when cooking at home when compared to ordering delivery or eating at restaurants. An electric pressure cooker may be tool you need to making cooking at home easy and accessible.
If you are a new electric pressure cooker owner looking for support, Hutchings has a Facebook support group: Cooking Under Pressure - An Electric Pressure Cooking Community. She shares recipes, resources and occasionally hosts Facebook Live lessons.
Resources:
- https://www.uidaho.edu/extension/news/story/cooking-pressure
- https://blogs.extension.iastate.edu/answerline/2016/11/21/electric-pressure-cookers/
- https://extension.usu.edu/foodsense/cook/pressure-cooking
- https://nchfp.uga.edu/publications/nchfp/factsheets/electric_cookers.html
Local ingredients are key to winning a UCCE quinoa recipe contest
Northern California cooks are encouraged to enter their best quinoa recipes in a contest next month co-sponsored by the UC Cooperative Extension Master Food Preservers Program, reported Heather Shelton in the Eureka Times-Standard.
"Quinoa is such an interesting food and there is quite a bit grown here in Humboldt," said Jennifer Bell, a UC Master Food Preserver who is working with UC Cooperative Extension and the North Coast Co-op to offer the contest.
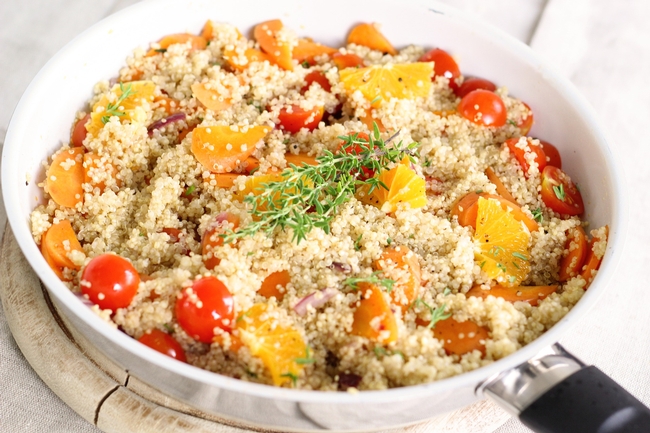
People consume quinoa like a grain, though it isn't a true grain. It is a complete protein and considered a superfood.
Quinoa "is higher in protein than many grains and low in fat, it is relatively inexpensive, it is versatile in dishes, it is tasty, with a crunchy texture and a nutty flavor and it is gluten free," Bell said.
In the spirit of local food month, the judges encourage participants to include as many local ingredients as possible in their recipes, especially locally grown quinoa. The winners will be selected based on the percent quinoa in the recipe, taste, appearance, use of local ingredients and creativity.
The contest has five categories: appetizer, breakfast, salad, burger/meatball and dessert. Participants may enter once in each category.
Recipes for the Great Quinoa Recipe Contest must be submitted online by Sept. 10. Enough food for sampling by five judges should be dropped off between 1 and 2 p.m. Saturday, Sept. 15., at the UC Cooperative Extension office, 5630 S. Broadway, Eureka. Winners in each category will receive a crown and a prize.
The public is welcome from 3 to 5 p.m. Sept. 15 to view a short film, watch a low-sugar jam demonstration using quinoa, taste quinoa and take part in a quinoa Q&A session.

